Managing thumbnail graphics and icons
Fusion Designer provides the possibility to assign a thumbnail graphic to each brick. This is done during the editing of a brick in the brick details. It is recommended to choose a graphic that visualizes the respective purpose of the brick (e.g. a sketch that shows the setup in the studio or the used elements of the studio automation). Additionally, an icon can be assigned to each multimedia object for better differentiation.
Thumbnail graphics and icons can be managed in the Thumbnail-/Iconmanager area, which provides the following functions:
- calling an external upload page for uploading new thumbnail graphics and icons
- providing a selection of icons available for marking multimedia objects
- deleting thumbnail graphics and icons
Notice
Fusion Designer does not provide its own thumbnail graphics by default. These must be provided and uploaded to the system by users.
Fusion Designer provides a standard package of icons that can be extended as required. Additional icons must be provided and uploaded to the system by users.
Notice
Fusion does not provide its own component for uploading graphics to the system. However, a configurable link can be used to open an external website where the corresponding files can be uploaded. This is usually a web page that provides HTTP upload functionality of files to a custom storage system. The target directories used for the upload (one each for thumbnail graphics and icons) are configurable and monitored by Fusion so that all newly uploaded files are automatically detected and registered in the system.
Managing thumbnail graphics
Thumbnail graphics can be managed in the Thumbnail-/Iconmanager area if the Thumbnail entry is selected as Type (Typ) in the list of filters.
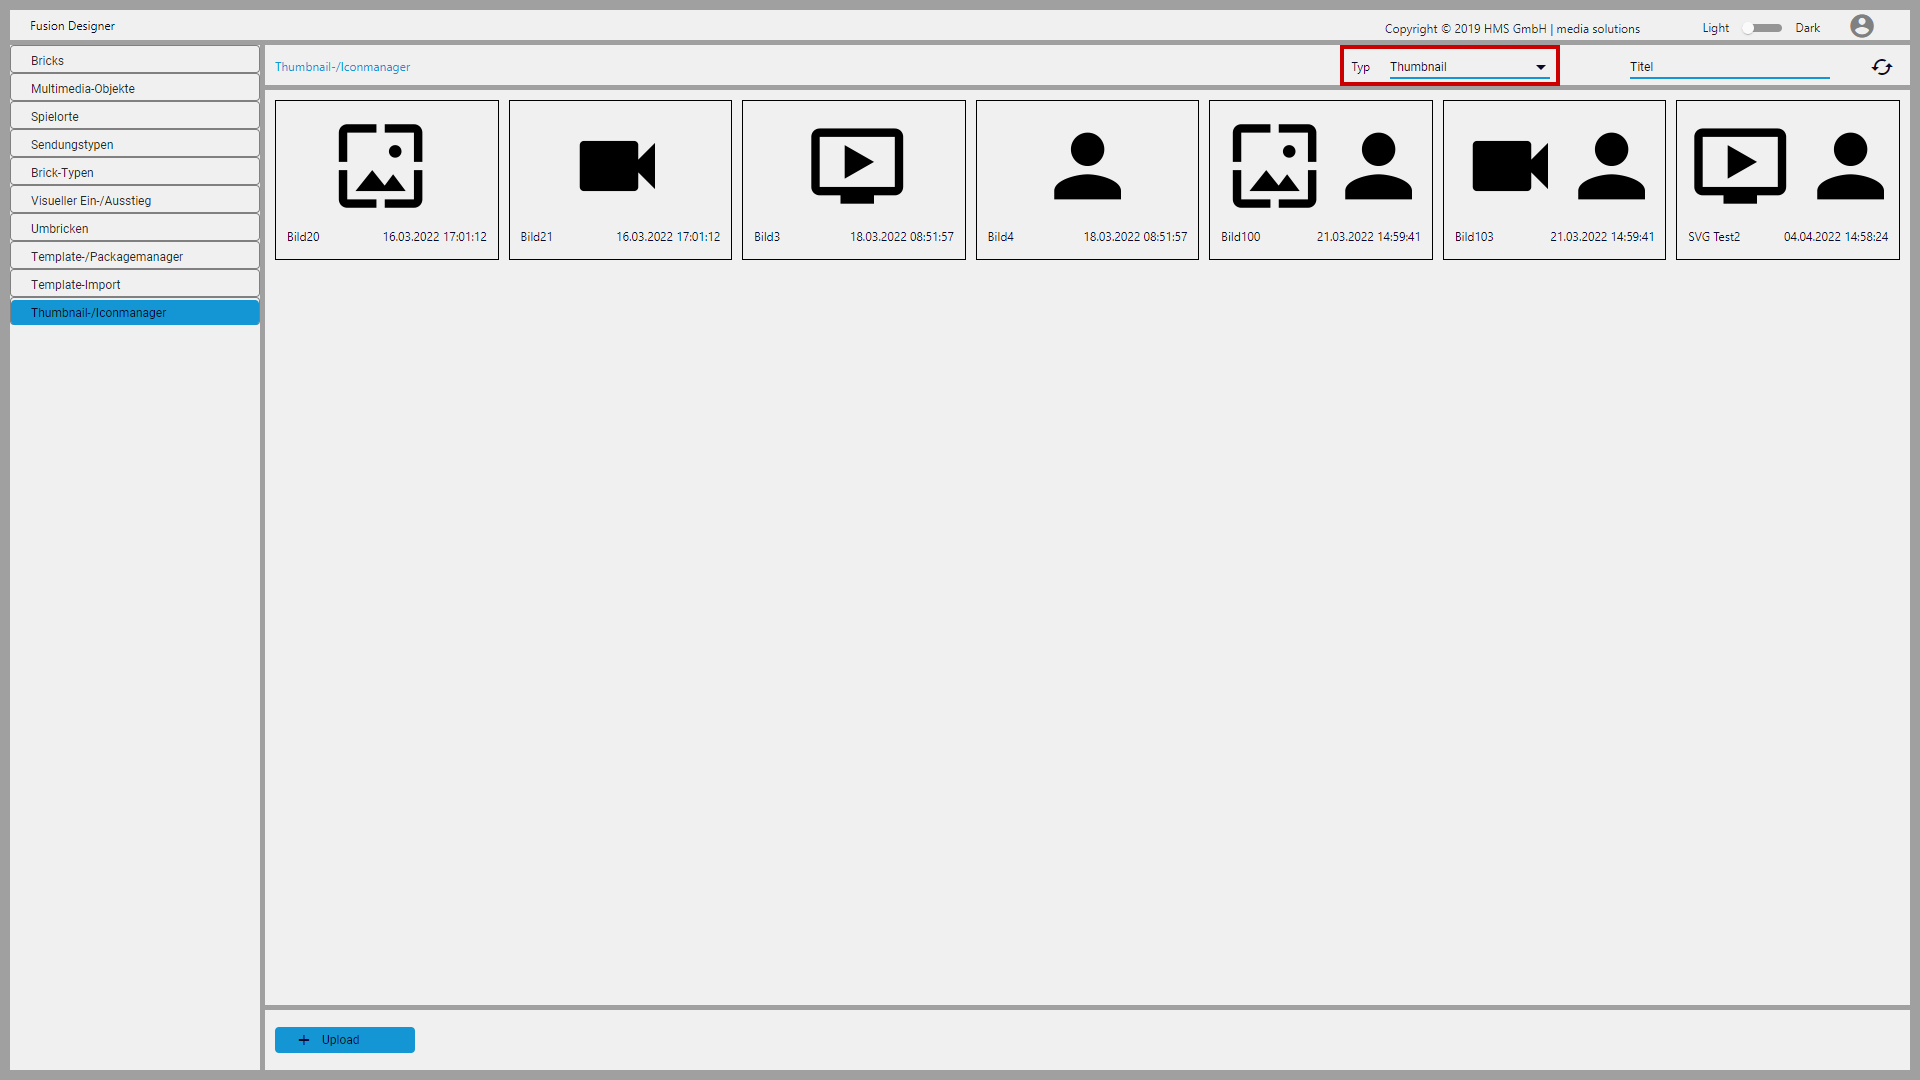
Figure: Overview of available thumbnail graphics
Uploading a thumbnail graphic
To upload a new thumbnail graphic, proceed as follows:
-
Select the Thumbnail-/Iconmanager area.
An overview of all available thumbnail graphics is displayed.
-
Click Upload.
The external upload page (that is stored as a link in the system) opens.
-
Use the external upload page to upload thumbnail graphics to the corresponding target directory.
Notice
Fusion supports the following file formats for thumbnail graphics:
- PNG
- SVG
- JPEG
- GIF
- BMP
Newly uploaded files are automatically recognized by Fusion and registered in the system. Depending on the destination directory they are uploaded to, they are either available as thumbnail graphics or icons.
Deleting a thumbnail graphic
To delete a thumbnail graphic, proceed as follows:
-
Select the Thumbnail-/Iconmanager area.
An overview of all available thumbnail graphics is displayed.
-
Select the graphic to be deleted.
-
Click Delete (Löschen).
-
Confirm the dialog by clicking Yes (Ja).
The selected graphic is deleted. If it was already assigned to a brick, the thumbnail graphic of the brick is reset to the default graphic.
Managing icons
Fusion Designer comes with a standard set of icons that can be extended as desired. Additional icons must be provided and uploaded to the system by users.
Users can select from all available icons. The selected icons can be assigned to multimedia objects to better distinguish them.
Icons can be managed in the Thumbnail-/Iconmanager area if Icon is selected as Type (Typ) in the list of filters.
![]()
Figure: Overview of available icons
Uploading an icon
To upload a new icon, proceed as follows:
-
Select the Thumbnail-/Iconmanager area.
An overview of all available thumbnail graphics is displayed.
-
Click Upload.
The external upload page (that is stored as a link in the system) opens.
-
Use the external upload page to upload icons to the corresponding target directory.
Notice
The following file formats are supported by Fusion:
- PNG
- SVG
- JPEG
- GIF
- BMP
Newly uploaded files are automatically recognized by Fusion and registered in the system. Depending on the destination directory they are uploaded to, they are either available as thumbnail graphics or icons.
Create a selection of icons
To create a selection of icons that can then be assigned to multimedia objects, proceed as follows:
-
Select the Thumbnail/Iconmanager area.
An overview of all available thumbnail graphics is displayed.
-
In the upper right of the list of filters, select Icon as Type (Typ).
An overview of all available icons is displayed, in the upper area the current selection and in the lower area all available icons.
-
To add an icon to the selection, select it in the lower area and click Add (Hinzufügen).
The selected icon is added to the selection and can then be assigned to multimedia objects.